This sculpture isn’t very tall yet, but I’m planning for the day that it is.
I can’t just place and stack the pennies. I had to do some research and experimentation to figure out how to make them stick together permanently.
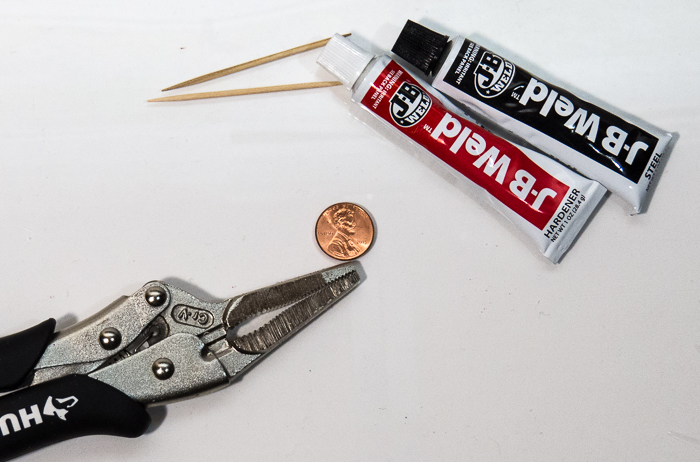
After scouring through many websites of hobbyists, jewelers, and others who work with metal, I came to believe that a two-stage epoxy would do the trick. I chose good old JB Weld – have used it for home repairs and knew it was simple to use but a strong bond.
Used toothpicks to mix and apply, and a pliers to hold coins in place while they bond.
On the advice of “experts” I tried adhering with and without sanding the penny first, but it didn’t seem to matter.
I did learn quickly not to put on too much epoxy mix, especially for this project. JB Weld is dark, thick stuff, and if you use too much the mistake is visible: It will seep out the sides and the coin will move around when you press down to stabilize it.

Just using a very small dab on the coin is enough. Once placed, I put a flat object, like a ruler, on top of the coin and press down gently to even out the epoxy.
Here’s the really important thing: WAIT FOR 24 HOURS. Do not attempt to touch, move, or test the bond. If you just leave it alone, it will be fine.
Like so many things in life.
Coin for the day: 2015, because this was the day when I felt like this project really has a future – a permanence.
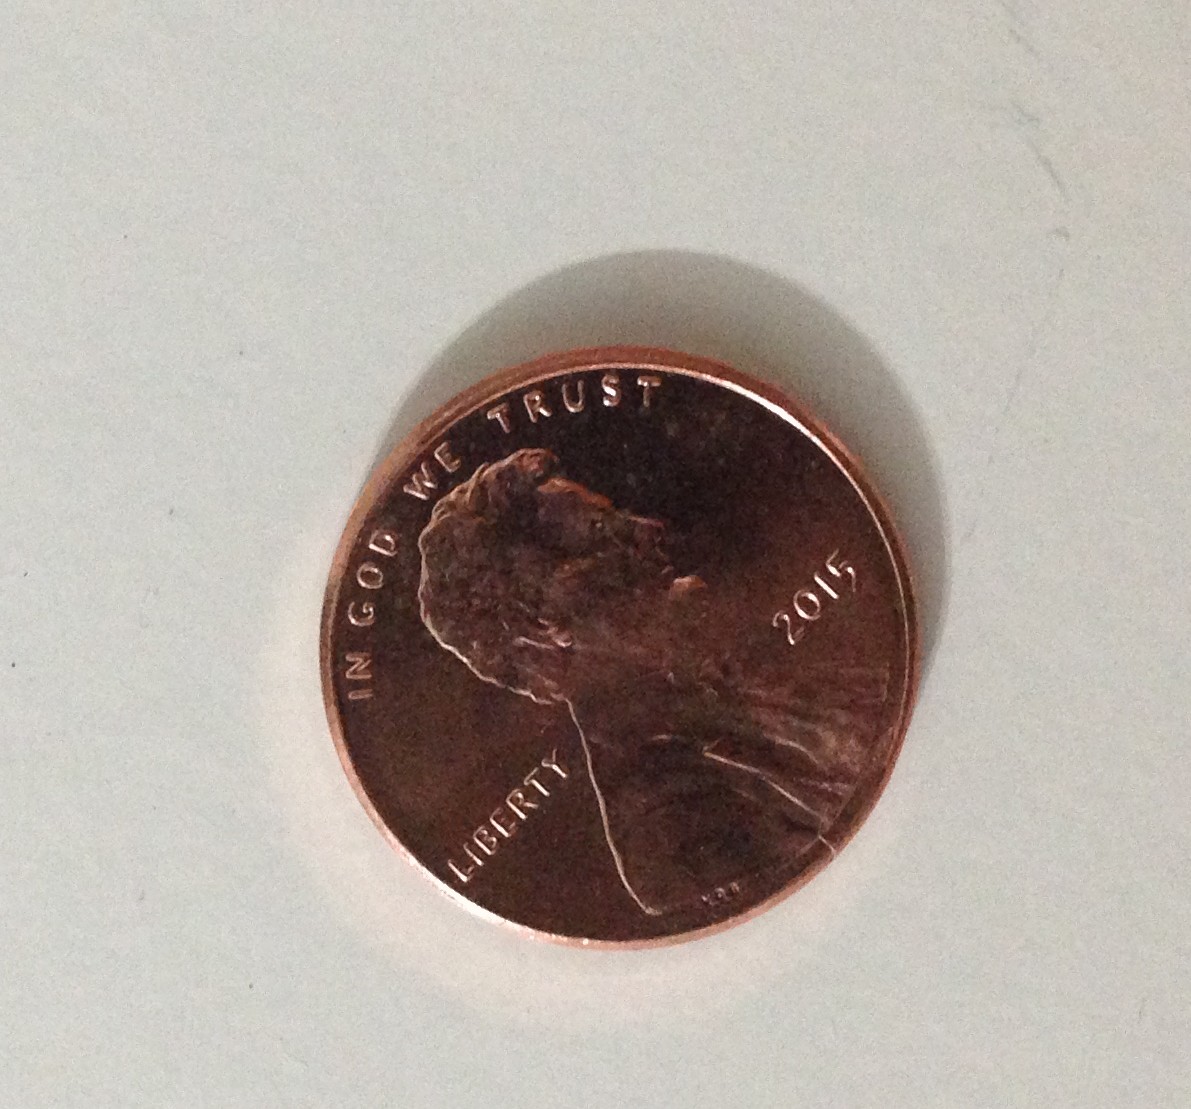
Day 21: 2015, looking for solid ground